Stroke and fill of shapes
Strokes and fills for shapes are paint operations that add colored pixels to a path or to the area defined by a path. A stroke or a fill can consist of a solid color, or it can use a gradient of colors. Strokes can be continuous, or they can consist of a periodic series of dashes and gaps. Each stroke and fill has its own blending mode that determines how it interacts with other shape painting operations in the same shape layer.
By default, painting operations in the same layer are performed in the order in which the shapes are added, starting from the bottom. For example, if the shape added later overlaps with the shape added first, the shape added later overrides the shape added first by default.
You can create attributes using the stroke and fill features in shapes, and you can use these features to modify the fill color, stroke color, fill type, and stroke type of a selected shape.
Fills and strokes can be any of three types:
None No paint operation is performed.
Solid color The entire fill or stroke consists of one color.
Linear gradient The fill or stroke consists of colors and opacity values defined by a linear gradient and then mapped onto the project along a single axis from the Start Point to the End Point.
Note : Custom shapes have a gray stroke and no fill by default; base shapes have a white fill and gray stroke by default.
1. Create and modify strokes
The position of the stroke is centered by the edge of the shape by default.
1.1 To create a stroke, follow these steps :
① Select the shape layer and click the shape button.
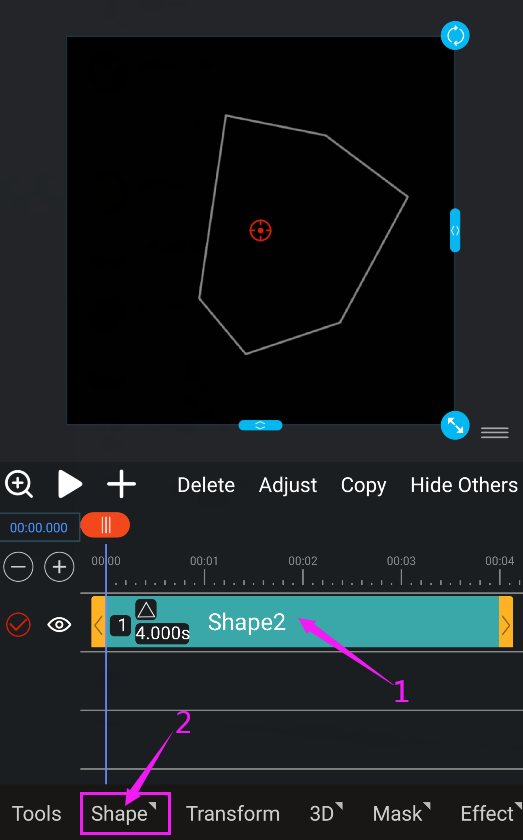
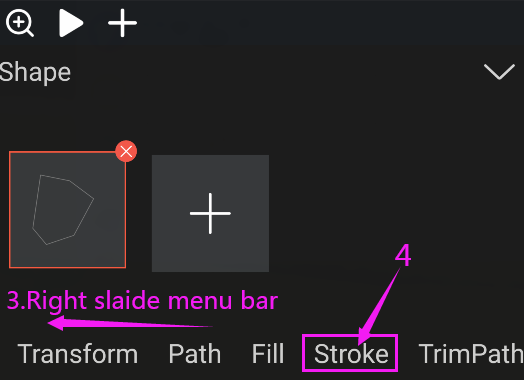
② Select the shape, slide the menu bar below the shape to the right, and click the stroke button.
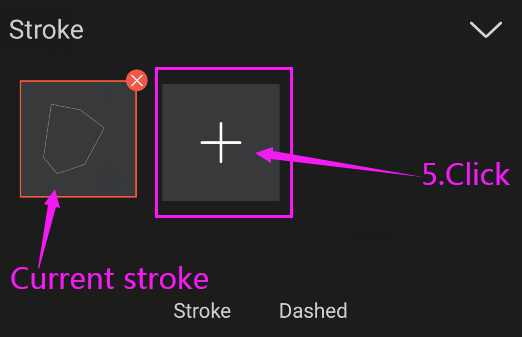
③ Please click the + icon, and then click solid stroke or gradient stroke.
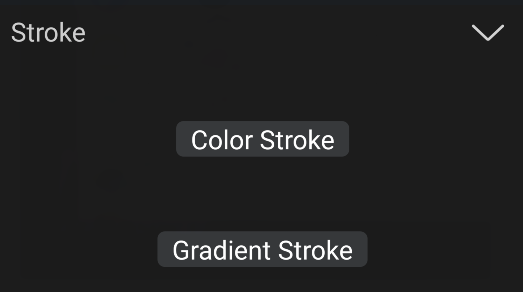

A. Custom shape default stroke A & B. Solid stroke C. gradient stroke
Note : The default solid color stroke color is gray, and the gradient stroke is black and white.
Note : When multiple strokes are added to a shape, the last added stroke is used as the current shape stroke.
1.2 To modify a solid color stroke, follow these steps :
① Select the solid color stroke and click the stroke button.
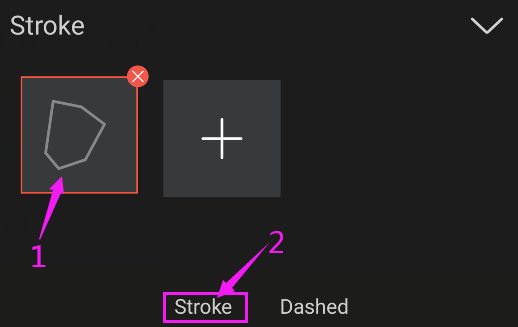
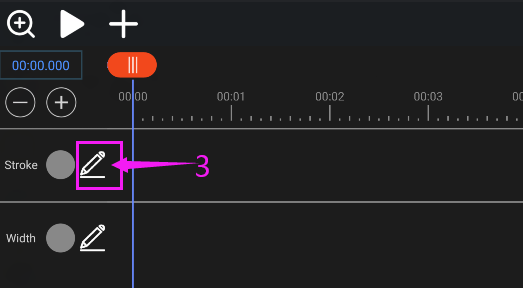
② Click the pencil button next to the stroke attribute name.
③ Select the color.
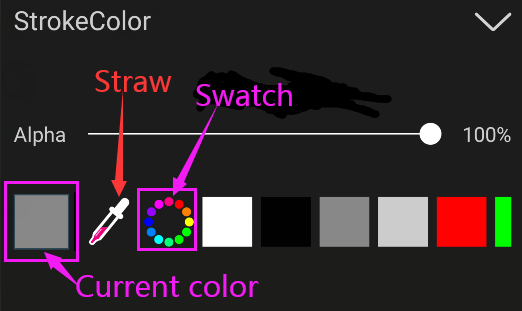
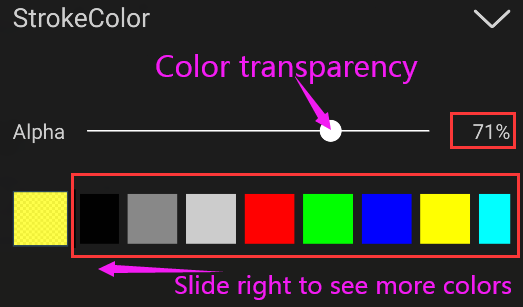
If you need another color, you can click the Straw button and then use your finger to click on the pixels you want to sample. The swatch next to the straw button will dynamically change to the color below the straw.
You can also click the color swatch to open the color picker. To edit solid colors with the color picker, see Adding a solid colors.
1.3 Modify a gradient stroke
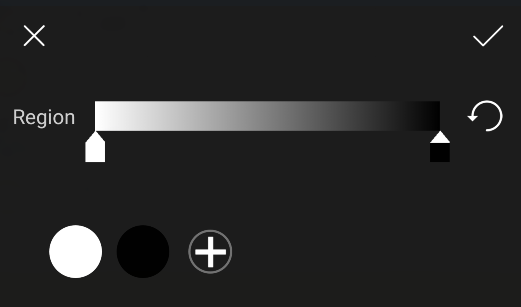
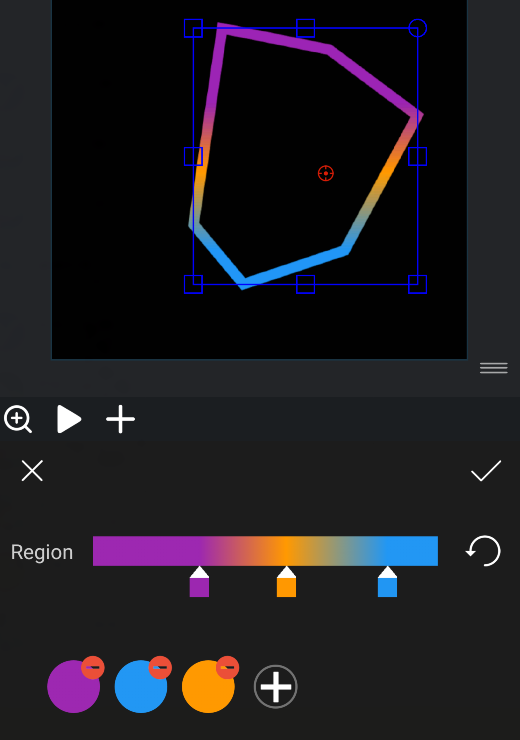
A gradient is a range of color and opacity values that you can customize in the Gradient Editor dialog box. You can also customize how those colors are applied to a stroke or fill by modifying the Start Point and End Point, which determine the direction and scale of the gradient. For example, you can modify these points to stretch the colors of a gradient over a larger area, or orient a linear gradient so that colors fade from top to bottom instead of from left to right.
By default, when you create a shape path by drawing with the Pen tool, the control points for the gradient are placed in the center of the layer.
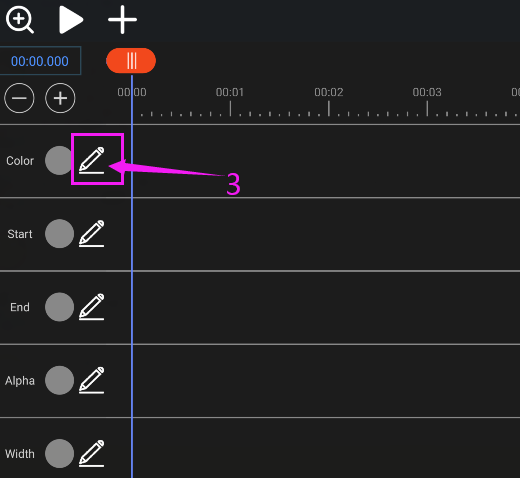
You can modify the Start Point, End Point, and Alpha properties in the Timeline panel. You can also add keyframes to these properties for color animation.

To modify a gradient stroke, follow these steps :
① Select the gradient stroke and click the stroke button.
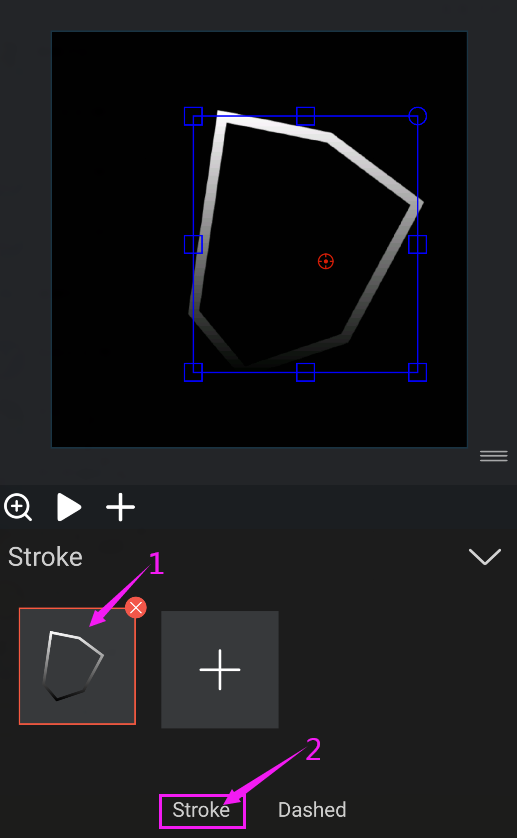
② Click the pencil button next to the color attribute name.
③ Select the color. (See Adding gradient colors.)
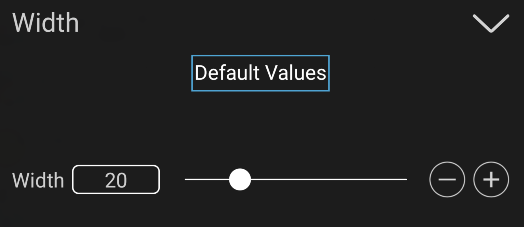
To set the stroke width, follow these steps :
① Select the stroke and click the stroke button.

② Click the pencil button next to the width attribute name.

③ Change the width value.
1.4 Create or modify a dashed stroke
You can create a dashed stroke by adding any number of dashes and intervals to the Stroke Dotted attribute group. The dashed lines and spaces in this attribute group can be repeated as many times as needed to cover the entire path. The Offset attribute determines at which point on the path the stroke starts. You can add up to three dotted lines for each stroke pattern.
Note : Animate the Offset property to create a moving trail of dashes, like the lights on a marquee.
To create or modify a dashed stroke, follow these steps :
① Select the stroke and click the dashed button.

② Click the + sign to add a default dashed line.
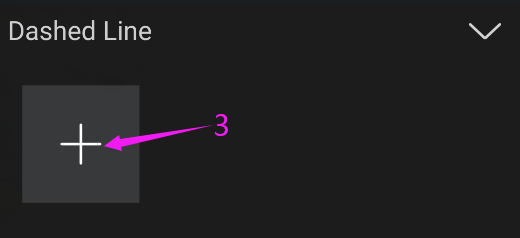
Default dashed line(bottom)
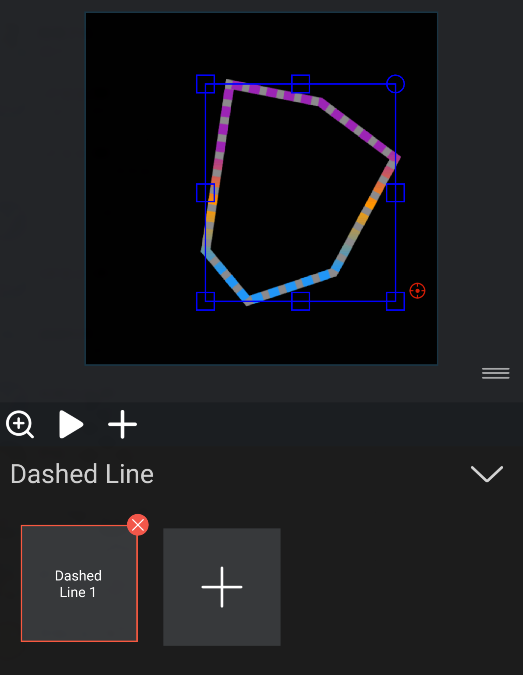
③ Click the dashed line button to modify the dashed line setting.
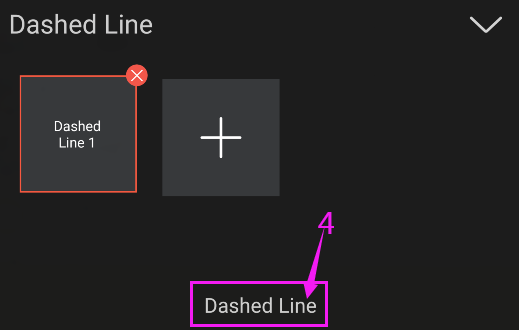
④ Click the pencil button next to the dashed line, interval and offset property name to modify the property value.
● Only the dash width value is modified, the other values remain the same.

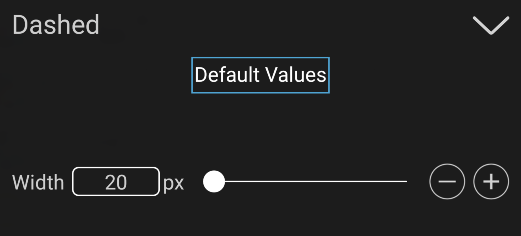
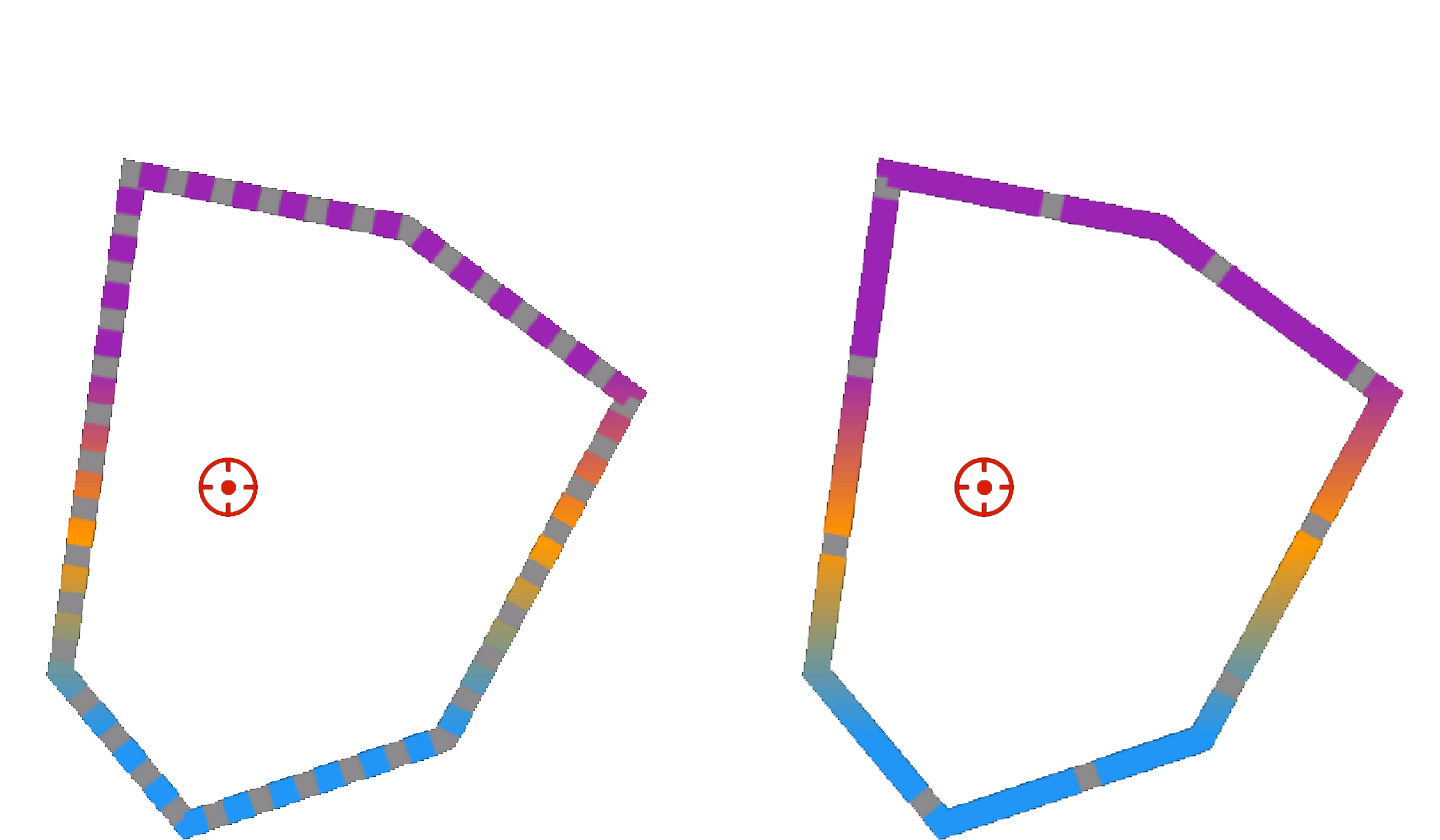
Comparison of dashed line width 20px (left) and dashed line width 120px (right).
● Only the dash space value is modified, the other values remain the same.

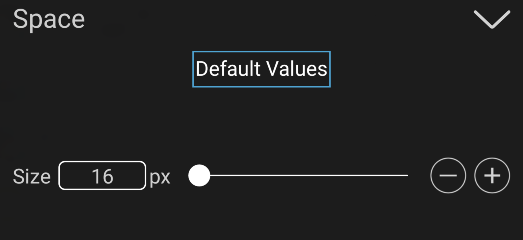
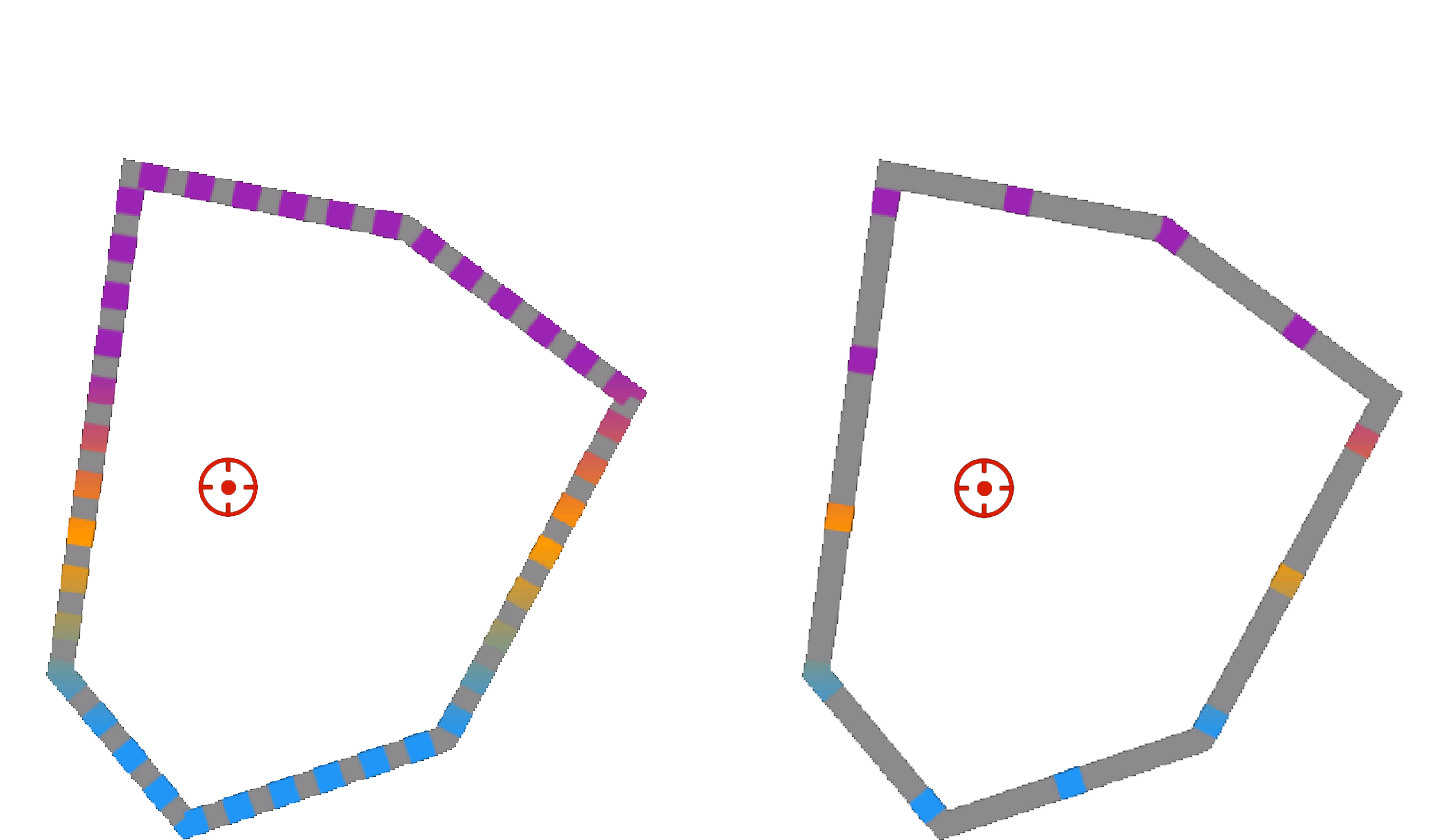
Comparison of dotted line spacing 16px (left) and dotted line spacing 100px (right).
● Only the dash offset value is modified, the other values remain the same.

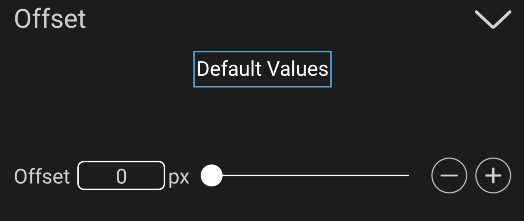
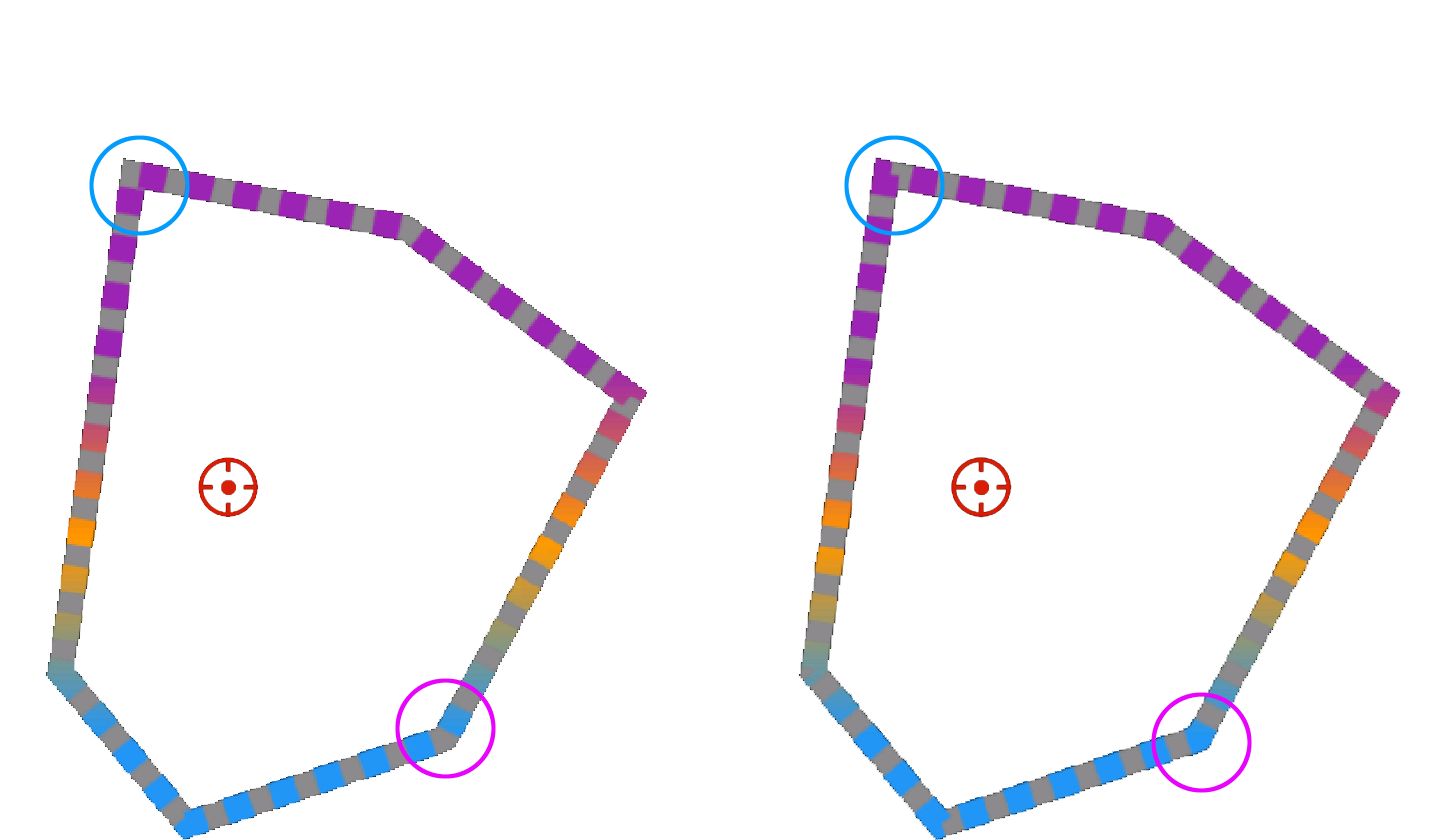
Comparison of a dashed offset of 0px (left) and a dashed offset of 50px (right).
2. Create and modify fills
A fill operation works by painting color in the area defined as inside a path.
To create a fill, follow these steps :
① Select the shape layer and click the shape button.
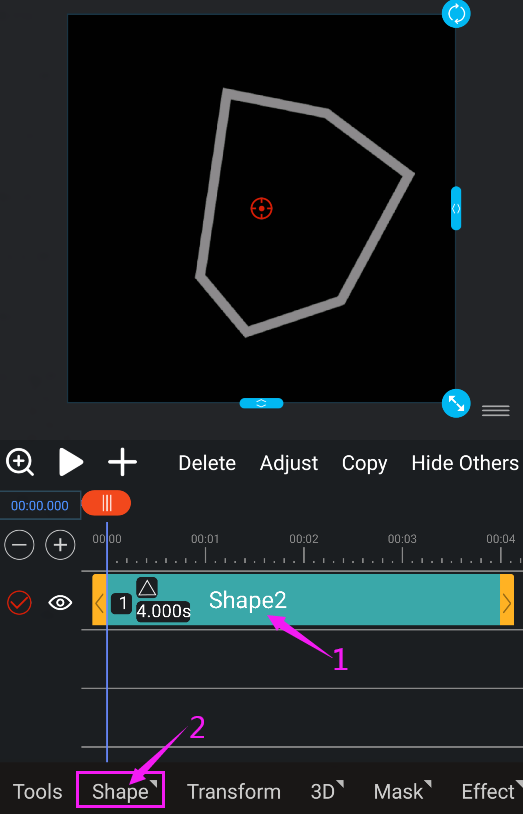
② Click the Fill button.
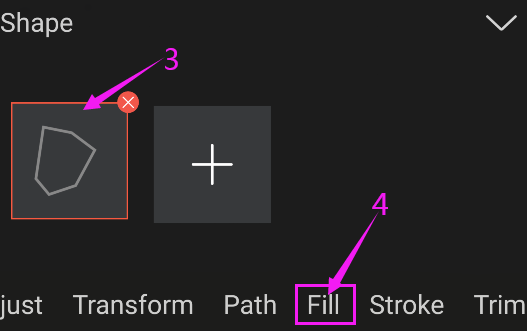
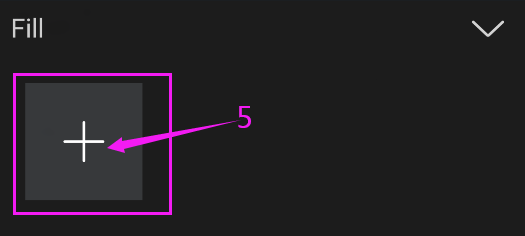
③ Click the + sign, and then click the solid color fill or gradient fill.
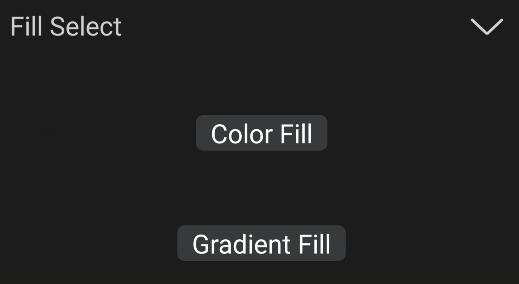
④ Select the color. (See Adding solid and gradient colors.)
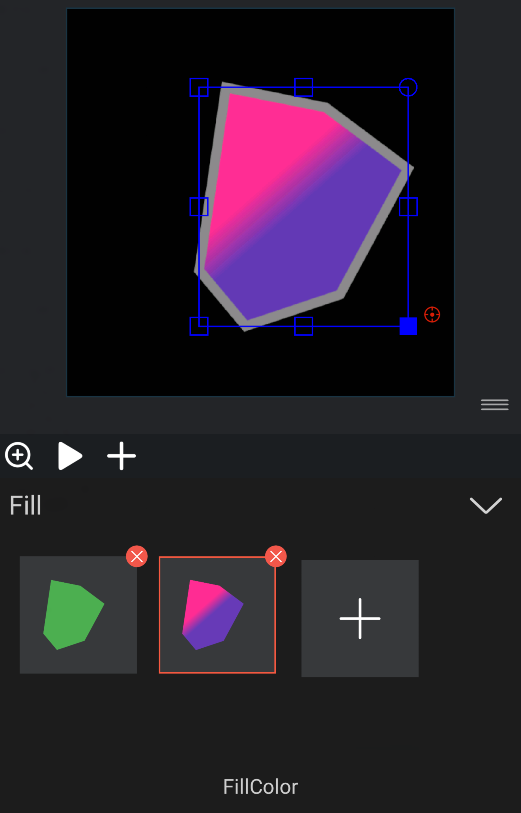
To modify a fill, follow these steps :
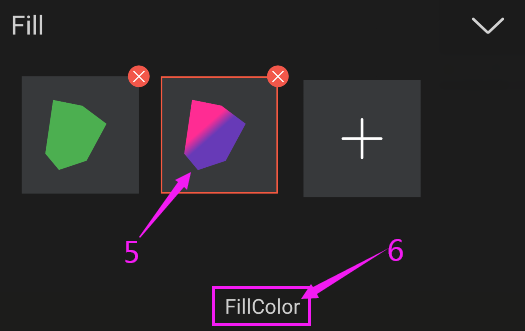
① Select the shape layer and click the shape button.
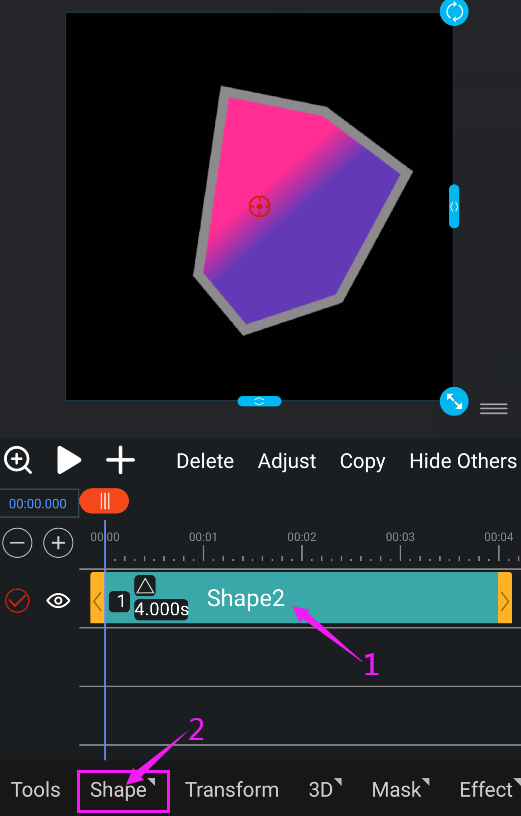
② Click the shape and click the fill button.
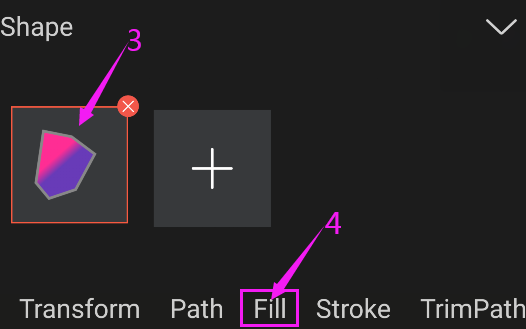
③ Select the color you want to modify and click the Fillcolor button.
